 Rather than repeat the background information, if you have hit on this post for the first time, we suggest that you look at the introductory lesson first, which will explain where we are coming from.
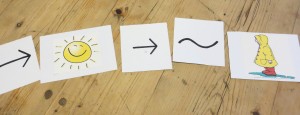
This activity introduces the idea of ‘not’ – as in the syntax “If this, then NOT this.”
We introduced the second bit of coding using the ’tilda’ symbol for ‘not’. Some people will use the logic symbol that looks like a rotated ‘L’ for ‘not’ but we rejected that as it is way too complicated to find on a keyboard and at some point, children will progress from picture coding to digital coding so the transition will be easier.
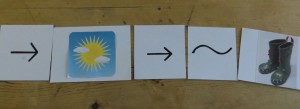
Construct a ‘sentence’ yourself using the syntax “if this…then NOT this”. Say it aloud as you put the symbols and pictures down on the table. Then repeat but asking for suggestions to complete the ‘sentence’ e.g If sun, then NOT raincoat/ NOT umbrella / not boots etc.
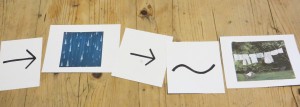
Then encourage children to swap the different picture cards to see which ones make sense and which ones do not. If the sentence is not logical, the children know this but seem to like it because they think it’s funny – maybe it appeals to their sense of the ridiculous. (If it’s raining, then we can hang all the clothes out and they’ll get all wet!!)
If the syntax was correct but the logic was ‘wrong’, we gave them a ‘bug’ fridge magnet.
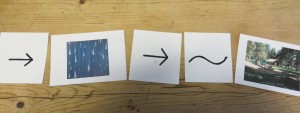
Here are some of the lines of code that the 4 year old Menna constructed on her own:
Handy hints
We found that children did not want to change their original ‘story’ by adding a different ‘predicate’ (effect). It worked much better if they were allowed to create a brand new ‘story’.




 English
 Nederlands
 Deutsch
 Italiano
 Español
 Português
 Română
 Cymraeg
No comments yet.